A u part wig is fast becoming one of the most popular wig styles. Wigs are widely used by women all over the world to create a new look, especially for those who suffer from hair loss or want to change their hair style. This blog offers an overview of the new human hair wigs: U Part Wig. Find out everything you need to know about the U part wig. U-part wig is also called U-shape wig or U-part half wig, which means it is a modified half-wig with U-part opening on top, you can cover the hole of U-shape with your hair. You can also interpret a U-part wig as a wig sewn on a U-part cap. It has clips and adjustable straps on the back. You can blend your hair with a U-part opening at the top of the wig, then create a natural hairline.
Installation Suggestions
The U-Part wig unit consists of an extension stitch for the wig cap. If you can make an u part wig, it is not difficult to make and apply. Once you do that, you can apply it without wasting time. And when you’re ready to look clean, you can take it off for hair care and repaint everything in 45 minutes to an hour. The initial assembly of the wig unit took about 1 hour and 30 minutes, but then things got easier. Or, of course, you can buy the perfect U-part wig. The wise choice is to buy from a reputable and reputable online retailer, such as a beautyforever hair wig. This is the fastest, most comfortable and most economical way to reshape yourself.
Beautyforever is a very popular hair company that gives wigs for sale to people. Beautyforever online top wig store offers the best quality human hair. The best part about this store is the cheap price. You can buy superior human hair products at very affordable prices from this store. Buy for yourself or give to a loved one.
Installation Steps
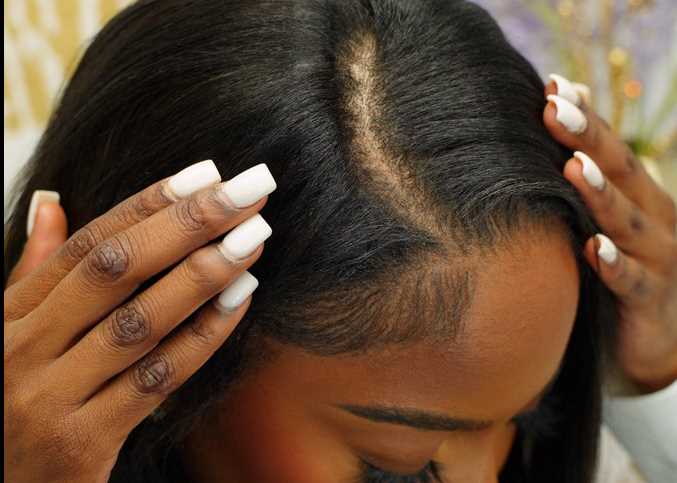
Step 1: Separate the hair and make sure you have enough wigs to match the wig.
Note: Please check how the U-Part wig first collides, then adjust the type accordingly.
Step 2: Trim the natural hair (aka “baby hair”) from the front edges on both sides. Then, tie the rest of the hair into a ponytail and secure the ponytail with a bobby pin.
Note: If your hair is longer than your shoulders, it is recommended to shorten it.
Step 3: Next, place the human hair in the middle of the U part wig bob and tie it where the clip is. Make sure the wig is flat on your head.
Step 4: Divide the hair in the direction you want, then iron each part to make sure that it covers the end of the hole in the U-part of the wig.
Step 5: Finally, straighten the iron flat hair and wig hair evenly and smoothly.
Note: Use a hair comb when ironing.
Everything you need to know about wigs. You can choose your human hair wig for a new look. This lace front is cheaper than a human hair wig. Beautyforever Hair offers a wide range of human hair wigs. Find clothes that fit you well.
FINAL VERDICT
We’re all excited to have you here today and hope you enjoy this article on how to install U-Part wigs. U-Part wigs give you the freedom to create a variety of looks at low cost, which is why they are so popular. We have some tips to help you, so let’s get started.